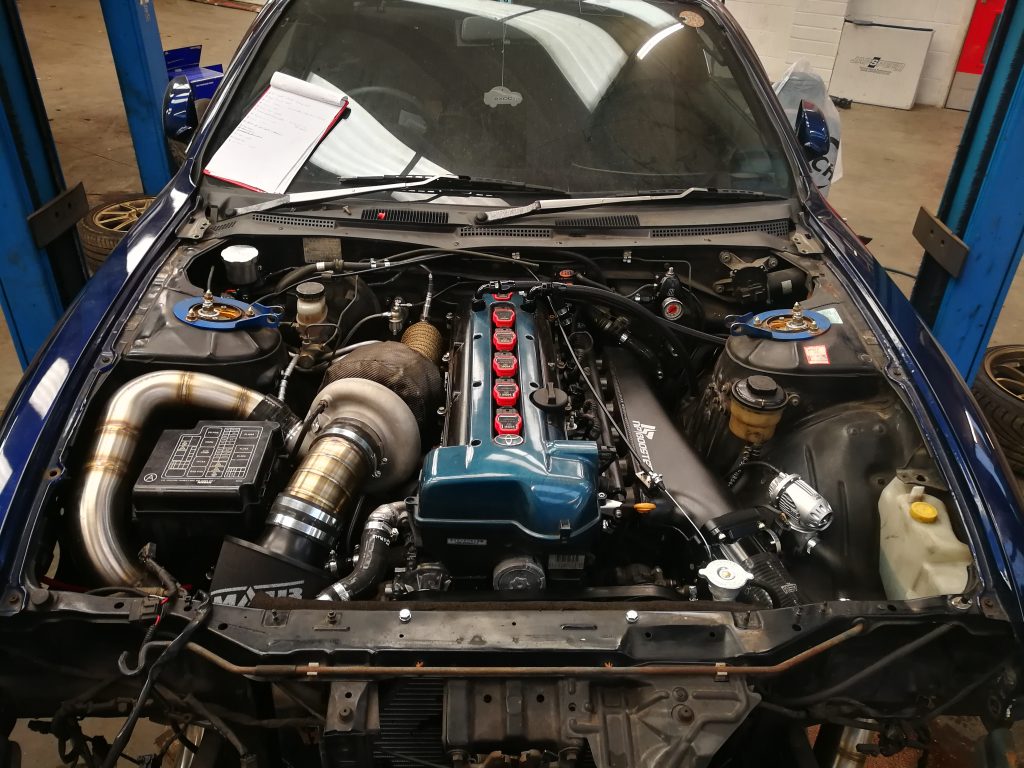
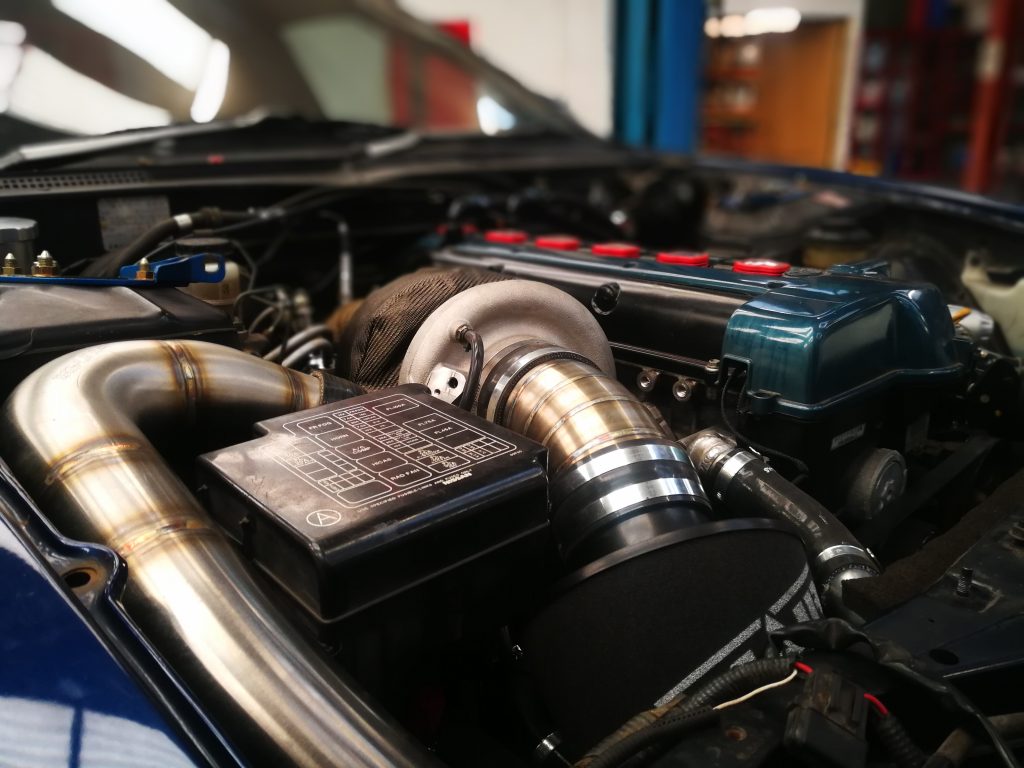
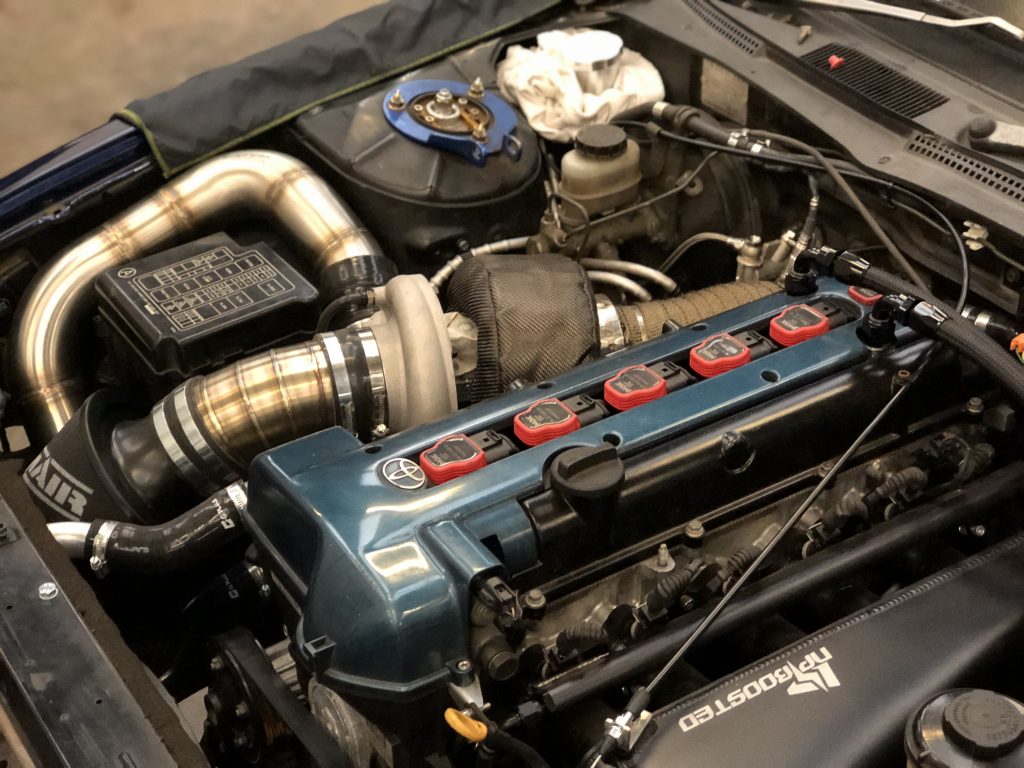
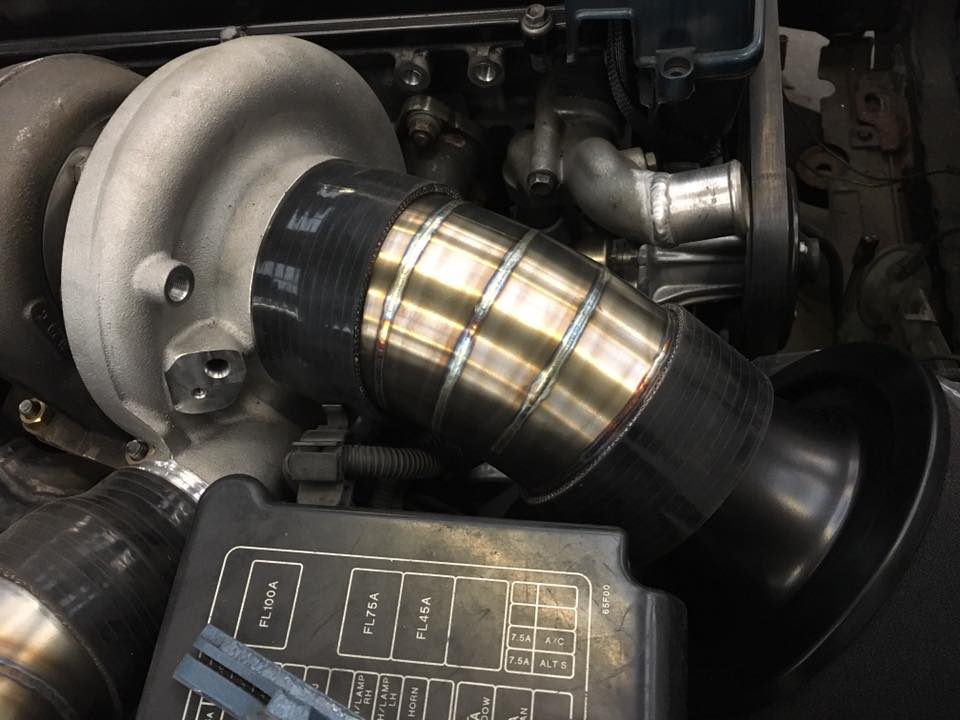
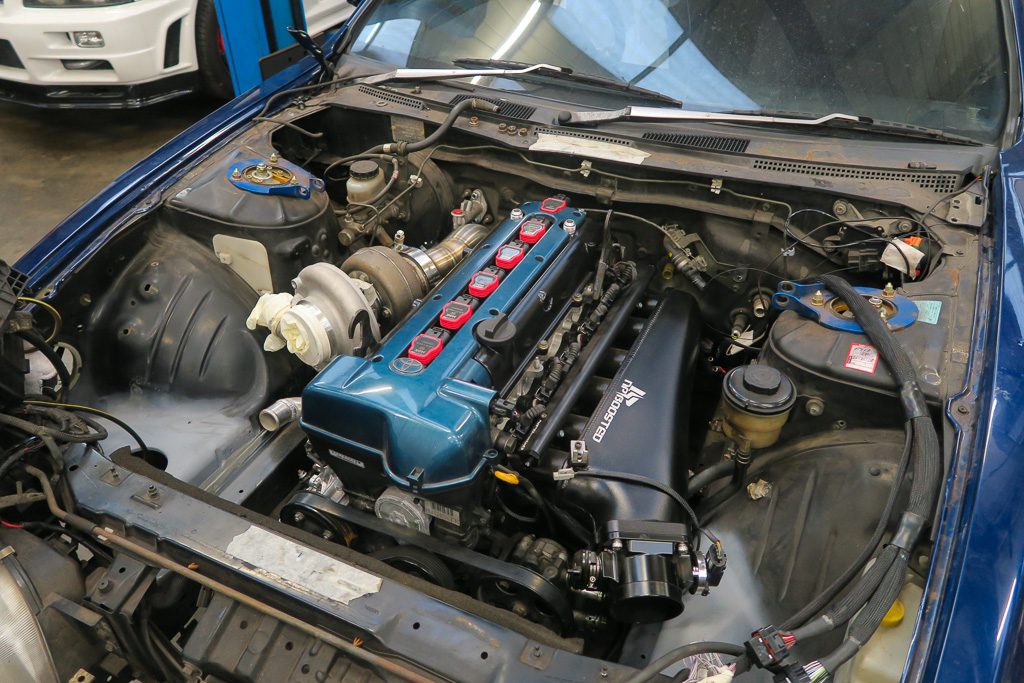
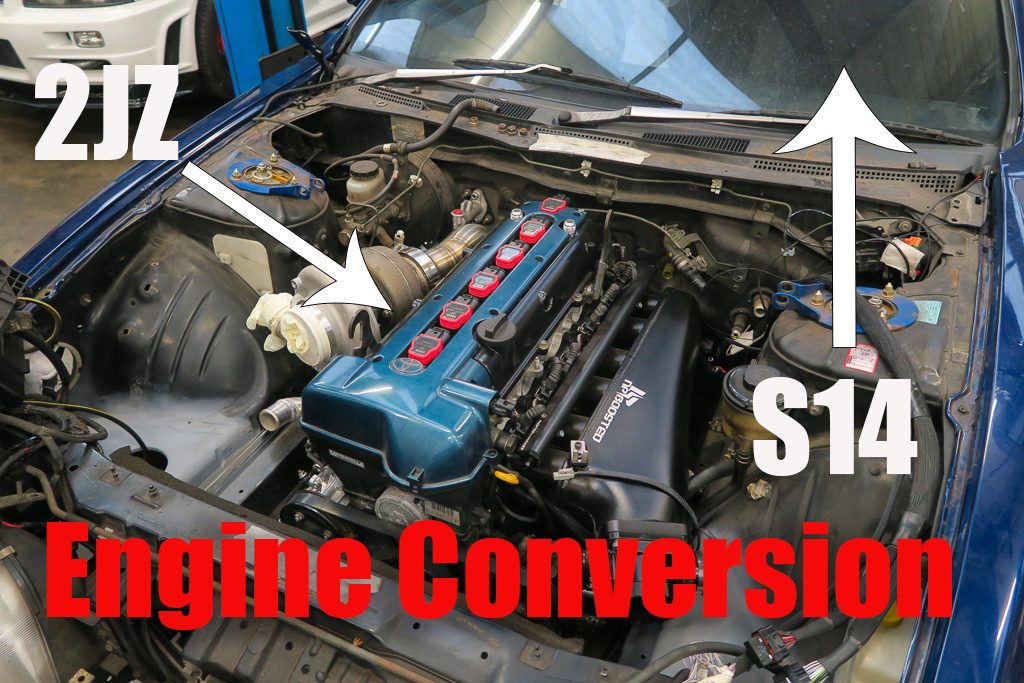
Almost by popular demand I’m going to just put together a quick bit about the S14 2JZ conversion that has been an ongoing project a Slide for the last couple of months. Jobs like this do take time and it’s better to get it all done right on the first attempt than have to try and rework it later on. Here’s a little breakdown of just what goes into a project like this one:
Step 1) Agree what is wanted with the customer
Probably the most important step of a custom build like this is getting an idea of what the customers expectations are, they will cover everything from simple job details like what aftermarket parts to fit, an idea of the scale of power they want to aim for and the budget but will also get into other areas such as the urgency of the build, agreeing what parts need custom fabricating and much much more. Once we have got all of this we get an idea of the timescale that is required and can build out a schedule for the mechanics and technicians who will be working on the vehicle.
Step 2) Source the donor engine
Believe it or not good quality replacement engines do not just grow on trees, and we have to carefully pick out the right unit, accounting for miles, engine wear, whats standard on it and what isn’t and then once we find the right one we order it to get delivered to the garage. Alternatively sometimes customers supply their own engine or a donor vehicle to get the engine from.
Step 3) The work begins
So having an agreement with the customer, being finished sourcing our donor engine, and getting a first set of measurements for where everything has to go, we can start chipping away at the project. I’m going to try and keep the details to the basics of what is done just to show some of the workflow and what really goes into a project like this.
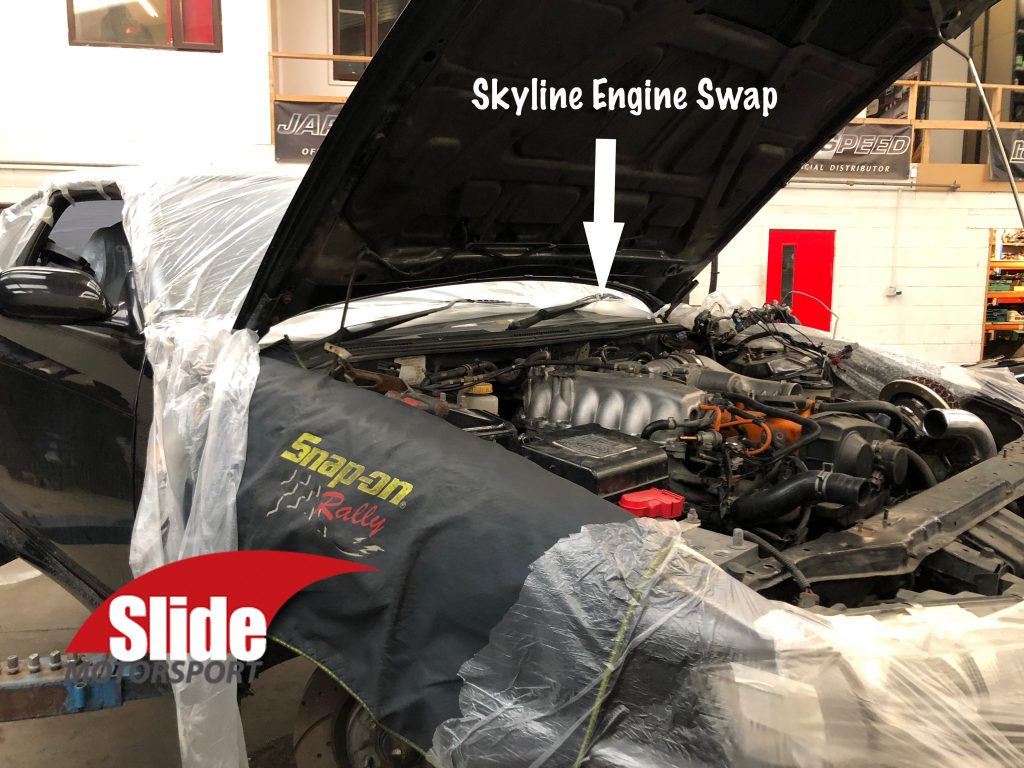
- Remove the old engine and gearbox.
- Strip down the new engine and remove all the engine ancillaries getting things ready.
- In this case we have opted to run a BMW gearbox, known to be a strong and reliable box, so this needed to be sourced and then have a suitable adaptor plate fitted so that it can be attached to the 2JZ engine.
- Next a trial fit of the engine, just a check to make sure that everything fits in OK and lines up and making sure the engine is central. Also checking that the height sits right to check it will clear the subframe, steering rack and transmission tunnel.
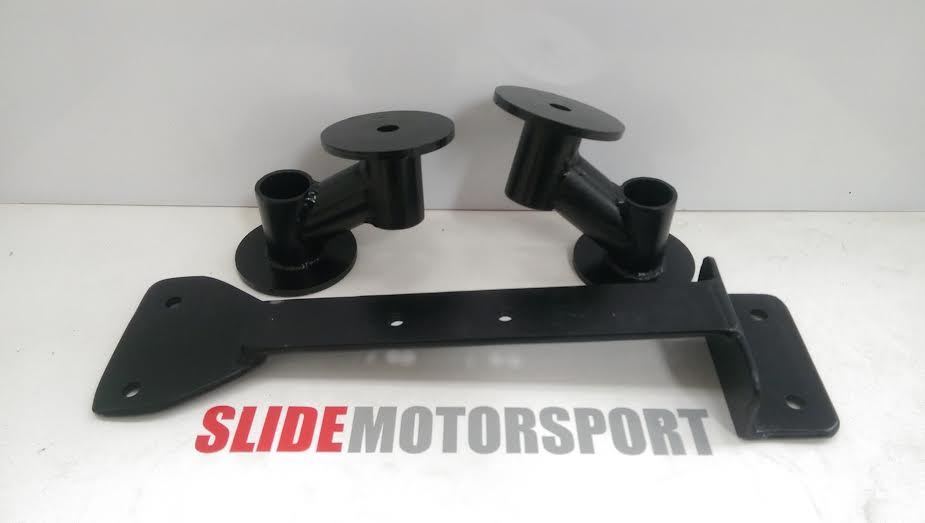
- Now that we know where the engine and gearbox will sit in the car we can make custom mounts for both and attach them to the subframe and the chasis of the car.
- At this stage we will actually take the engine and the gearbox back out of the car again, to give us all the space we need to figure out all the custom fabrication that will need to happen.
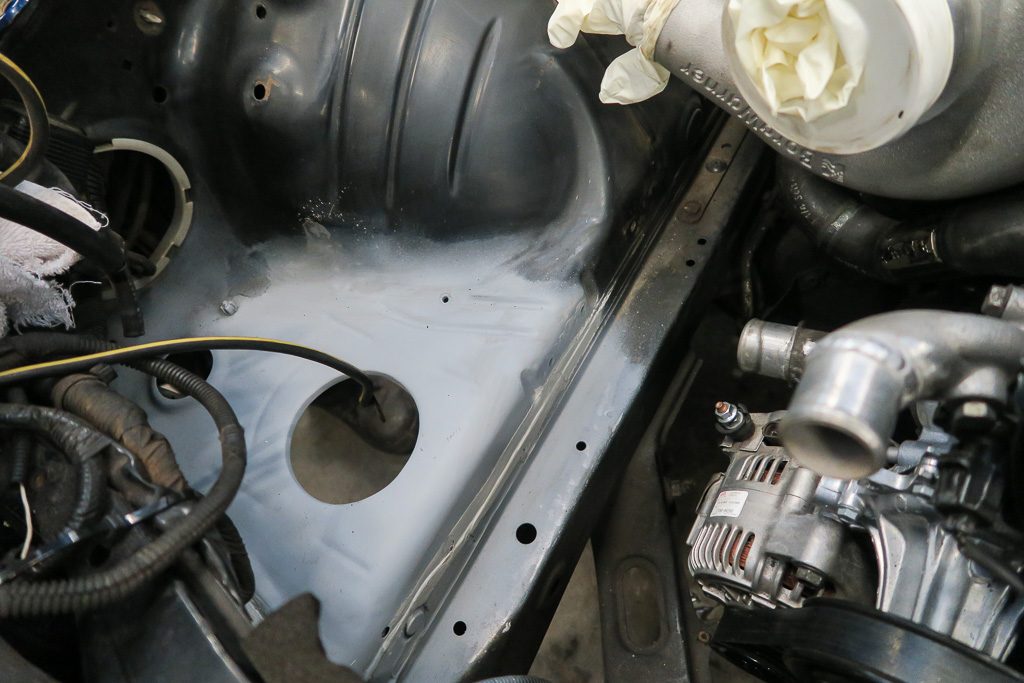
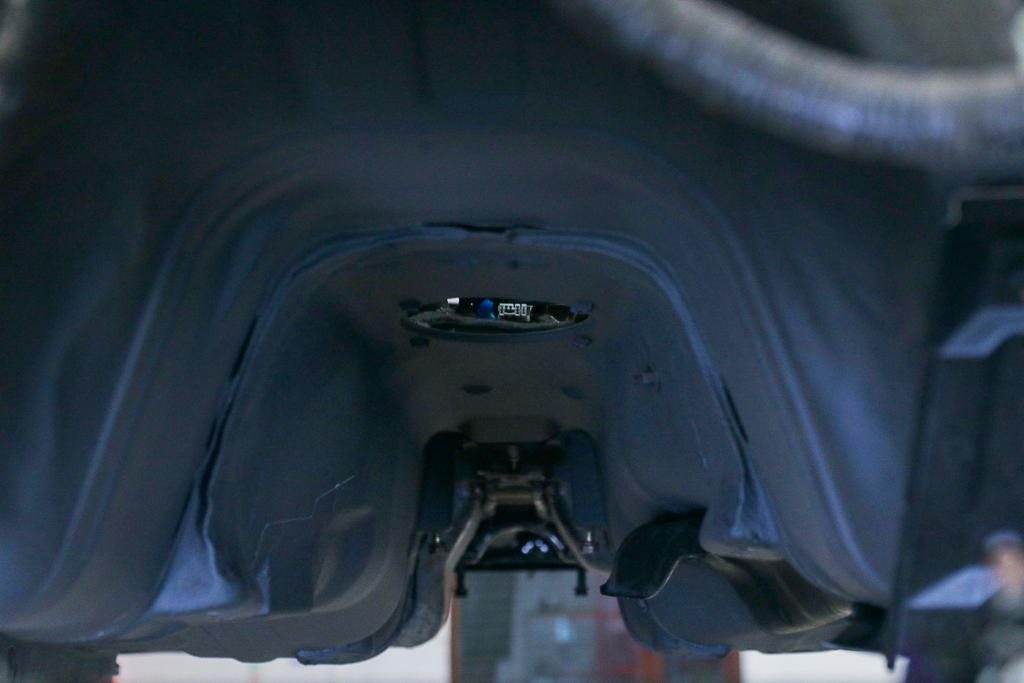
- Now with a good idea of what room is required we will start to modify the shell in whatever ways we need, for instance we cut out the sections required to allow space for where the intercooler pipework will need to run.
- Then other custom work will need to begin, in this case we needed to make custom fuel lines as they require to be on the opposite side of the engine bay to a standard Nissan SR engine setup.
- Whilst the engine is still out of the car it gets rewired and a full custom engine loom is created.
- The new clutch and flywheel (a full ABC kit that comes with the previously mentioned adaptor plate) are fitted whilst everything is still out of the car, then we put the gearbox back on to the engine.
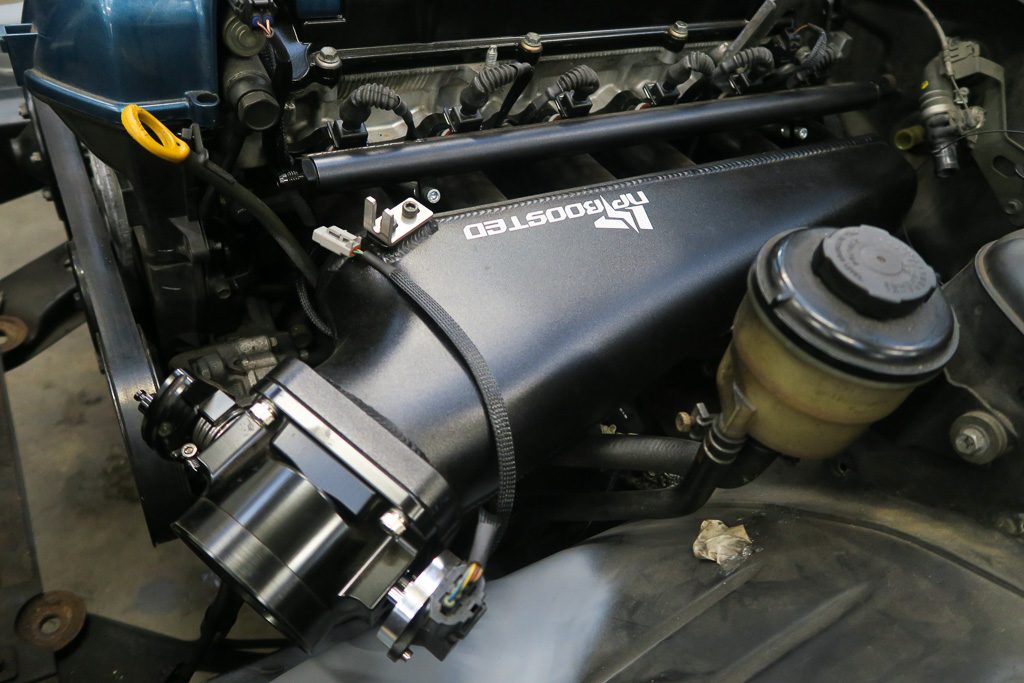
- All required ancillaries, the Speedtek exhaust manifold and the intake manifold are all fitted to the engine.
- We then did an air conditioning delete and had to make a custom mount for the power steering to lower it so it would clear the aftermarket throttle body and intake pipe, then also all custom power steering lines.
- Now it’s finally time to get that engine and gearbox fitted into the car!
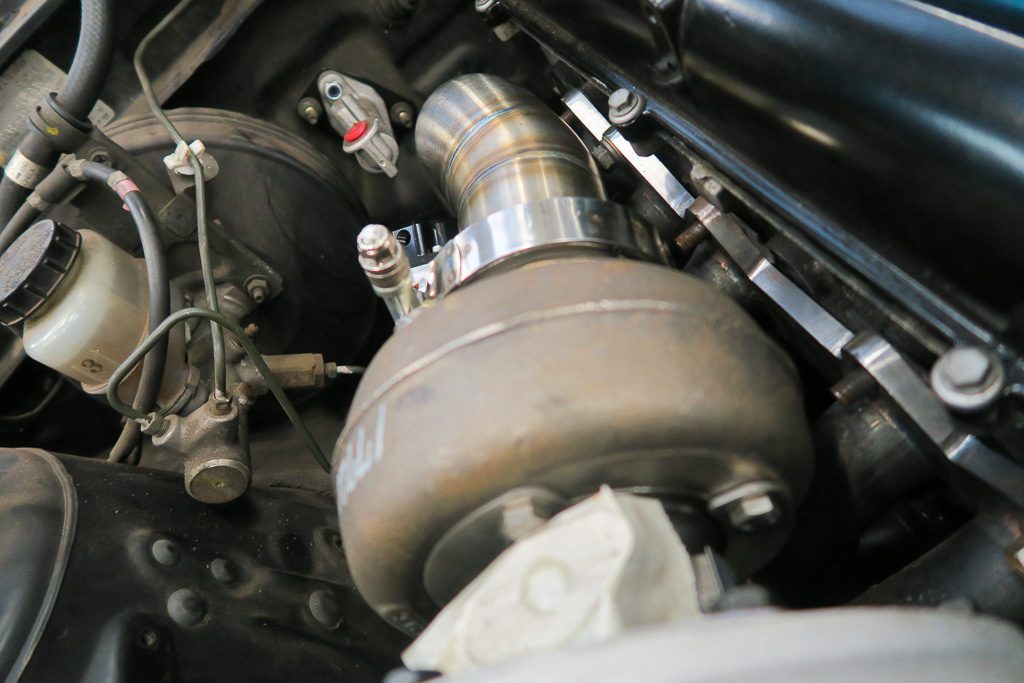
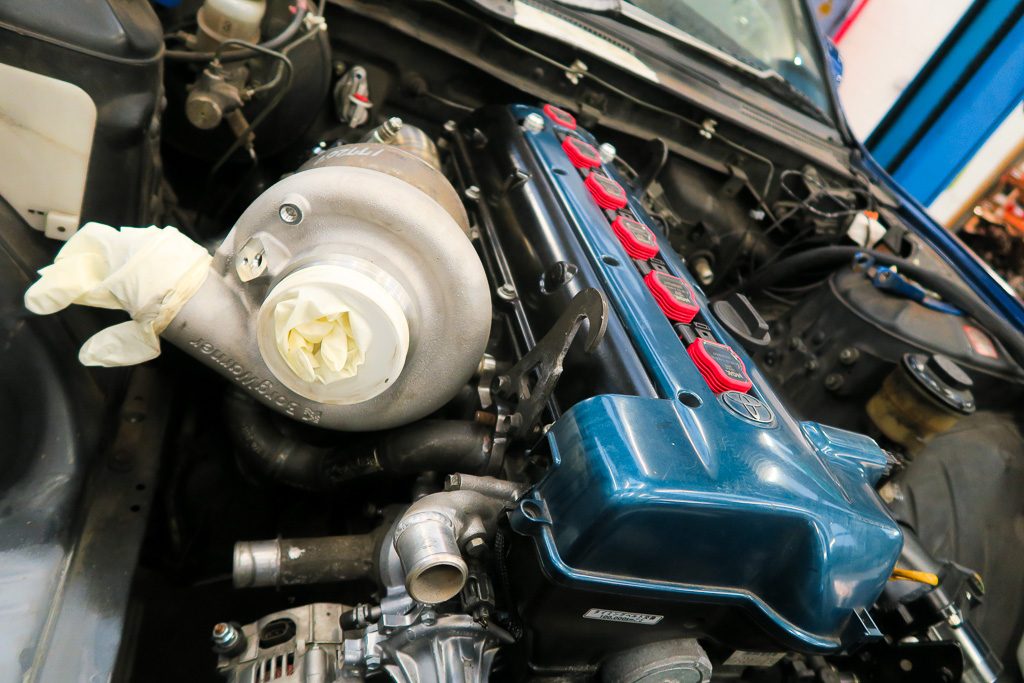
- That’s a big step out of the way but still a lot left to go, time to mount the Bogwarner turbo.
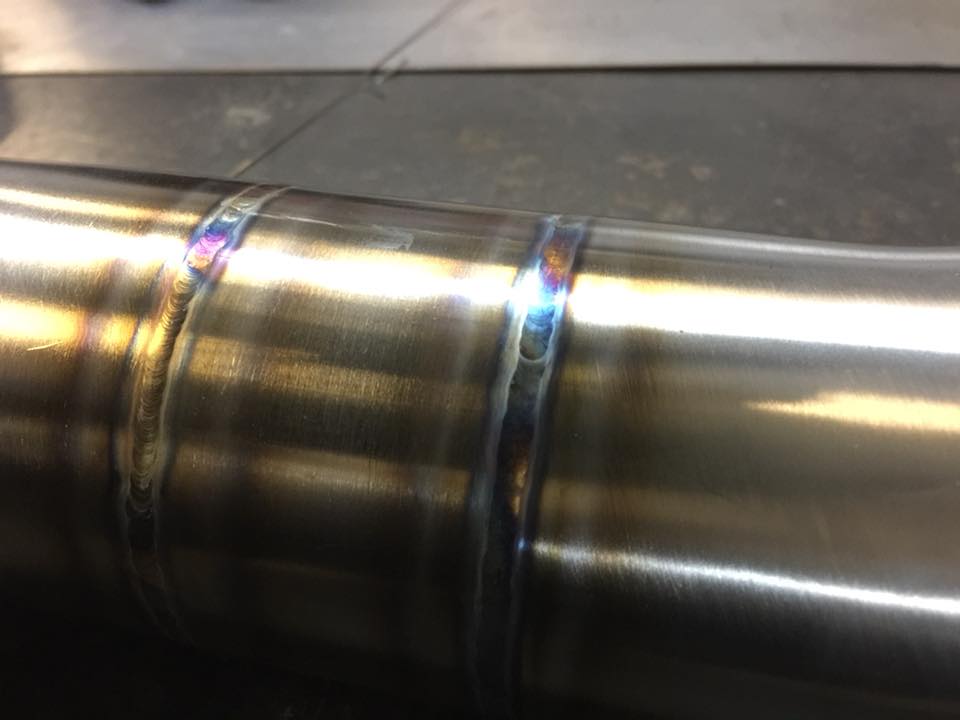
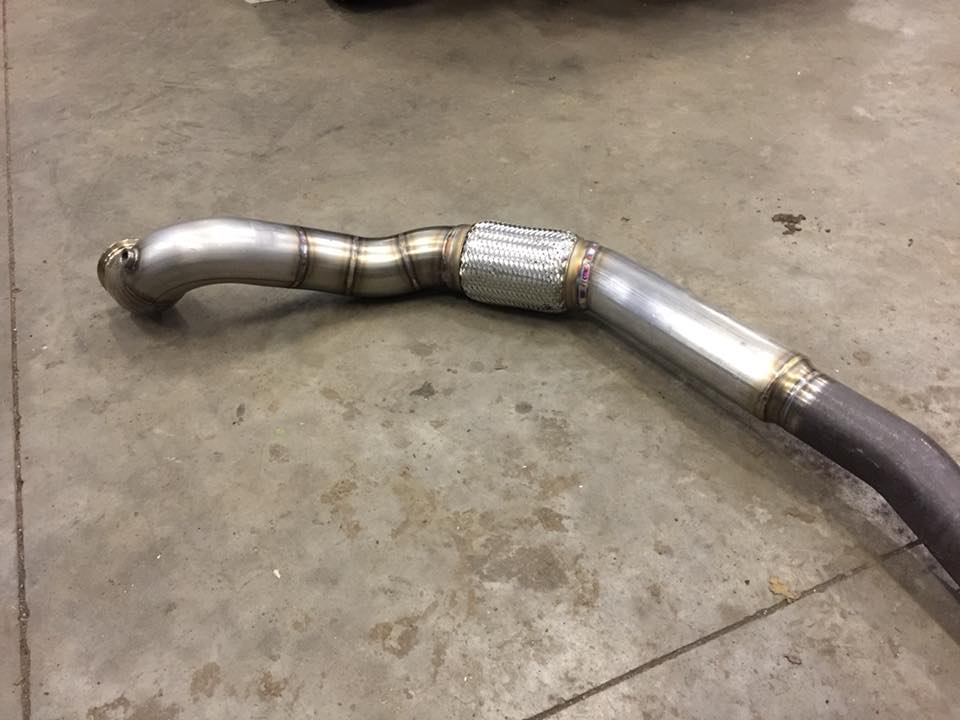
- Now more custom fabrication, this time a full exhaust system to fit to the position of the turbo.
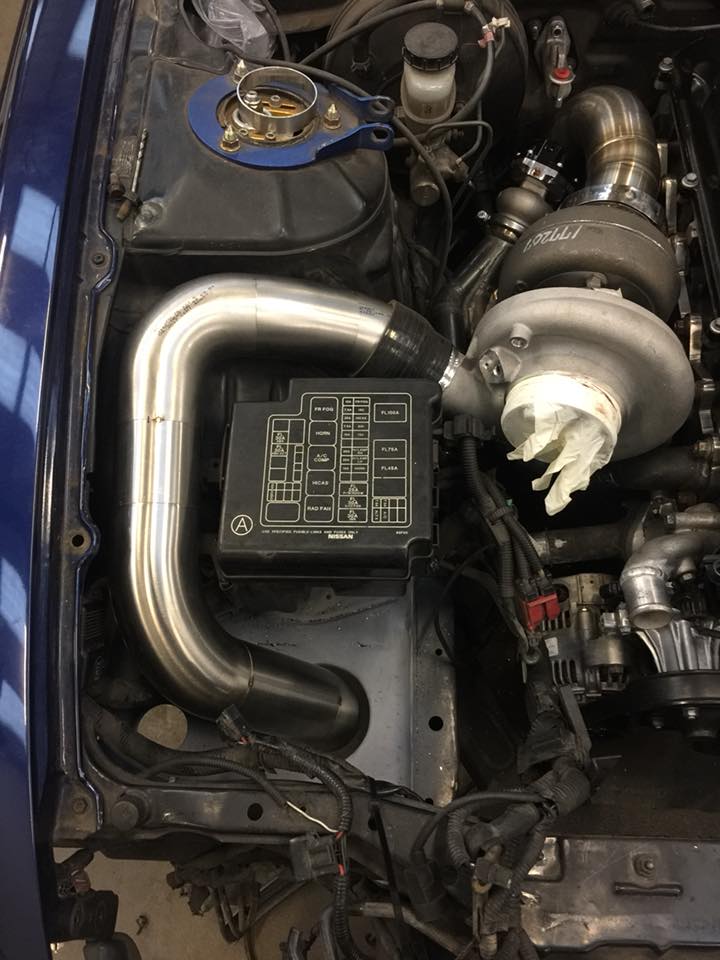
- Then we make up and fit all the custom intercooler pipes we were making space for earlier on, that run to the Mishimoto intercooler.
- Then we fit the custom radiator and we make brand new cooling pipes from scratch.
- The braided clutch line is made for the specifics of this conversion.
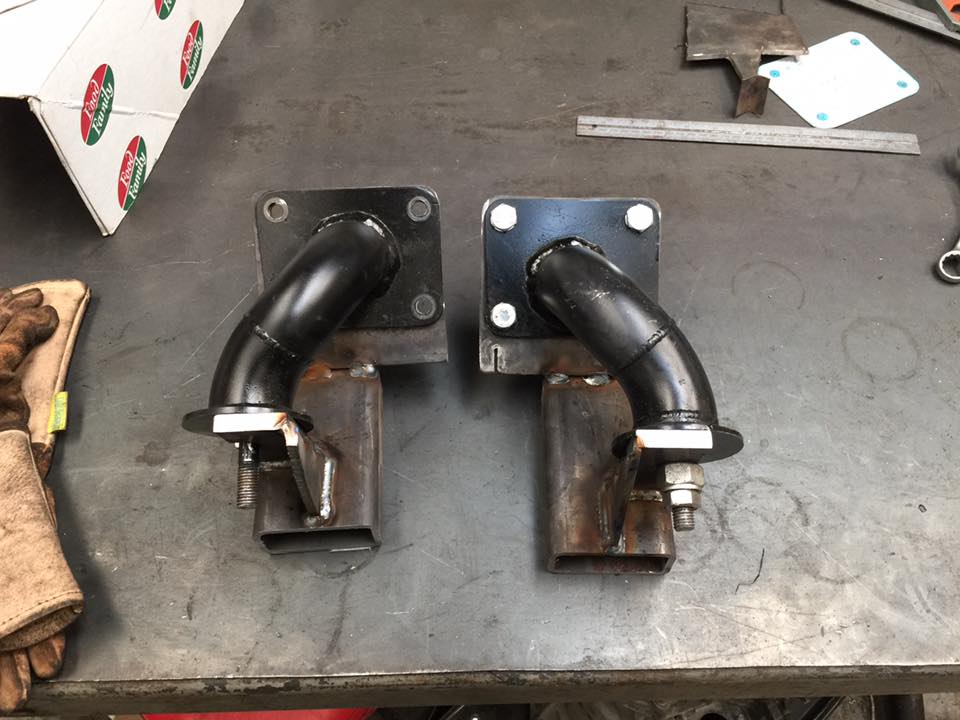
- We make some one of a kind intercooler mounts for custom fitting.
- Fit a remote catch can once again with custom braided lines.
That just about brings us up to date with what has been done so far, although with a job this extensive I’m sure a few things are probably missing. Also this really only focuses on the engine work that has been done, there is also a lot happening to other areas of the car that I will be picking up on at a later date. I think this just really begins to show just how much goes into a project like this, and the time and care that we put in to make sure every single little thing is done just how the customer wants.
Want to know more? Looking to follow the rest of the build? Curious to see what power it’s making at the end? Head over to the Facebook page where we post regular updates on all our shop work and fabrication projects. Got a crazy project of your own in mind? Get in touch to enquire, we always love seeing new challenges!


